

How to Create a No Waste Food Amendment for Your Garden
- caragardensinfo
- May 3
- 19 min read
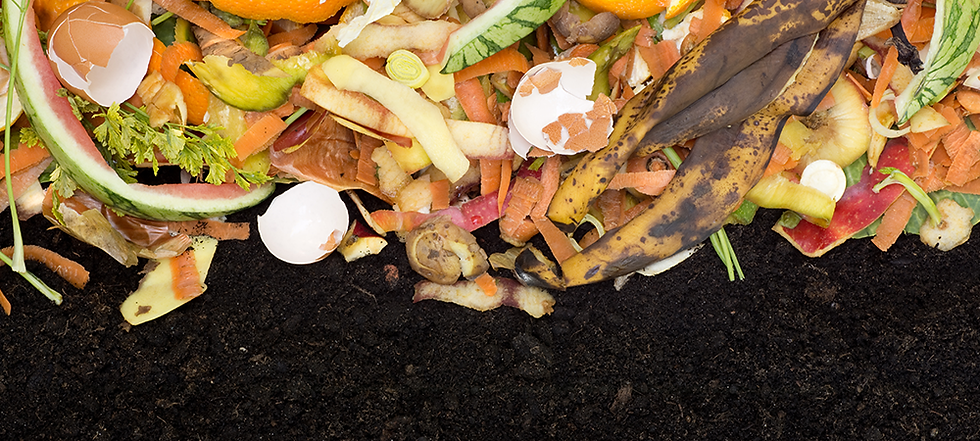
A no waste garden system only works well when the inputs are balanced, measured, and processed properly. Kitchen scraps can absolutely become valuable soil amendments, but they should not be treated as something that can be endlessly dumped into garden beds without consequence. Even natural materials can create problems if they are applied too heavily, too often, or before they have been broken down into a stable form.
Soil is a living system. It contains bacteria, fungi, insects, organic matter, minerals, water, and air spaces that all interact with plant roots. When small amounts of food based amendments are added properly, they feed microbial life and gradually release nutrients. When too much is added at once, the soil can become overwhelmed.
Overloading soil with fresh food waste can lead to:
unpleasant odors
mold growth
pest attraction
excess microbial activity
nutrient imbalance
poor airflow in the soil
root stress or root rot
temporary nitrogen tie up
salt, sugar, or oil buildup
This is why the goal is not to add as much as possible. The goal is to add the right material, in the right form, at the right time, and in the right amount.
A good no waste system should support the soil food web without disrupting it. Think of it as slow feeding the garden rather than force feeding it.
Why Measurements Matter
Measurements matter because every kitchen scrap behaves differently once it enters the soil system. Coffee grounds, banana peels, rice water, wood ash, fish hydrolysate, and vegetable powders do not break down at the same speed or affect the soil in the same way.
Some materials are mild and forgiving, while others are concentrated and need caution. For example, tea leaves and vegetable powders can usually be used more gently throughout the season, while wood ash can quickly affect soil pH if overused. Fish hydrolysate is nutrient rich and effective, but too much can overwhelm plants or create odor issues. Banana peels are useful for potassium, but if buried in large chunks, they may attract pests before they break down.
Using measured amounts helps prevent accidental overload. It also makes results more predictable. Instead of guessing, you can observe how plants respond and adjust slowly over time.
A measured system helps you:
prevent nutrient spikes
avoid attracting rodents and flies
reduce risk of soil imbalance
keep amendments consistent
build fertility gradually
protect seedlings and young roots from stress
This is especially important in containers, raised beds, and small gardens, where soil volume is limited. A handful of amendment in a large in-ground bed may be harmless, but the same amount in a small pot can be excessive.
Timing Matters Too
When you apply food based amendments is just as important as how much you apply. Plants need different nutrients at different stages of growth, and soil microbes also respond differently depending on temperature and moisture.
In early growth, plants usually benefit from gentle nitrogen and organic matter to support leaves, roots, and stems. During flowering and fruiting, potassium rich materials such as banana peel powder may be more useful. In fall, slower breaking materials like nut shells, dried powders, and compost inputs can be added to build soil for the next season.
Timing also matters because microbial activity is slower in cold soil. In early spring, fresh amendments may sit longer before breaking down. During warm weather, decomposition speeds up, which means materials can become active quickly. This can be helpful when controlled, but harmful if too much is added at once.
As a general rule, fresh or active amendments should be applied during the growing season in small amounts, while slower materials are better suited for composting, fall soil building, or long term bed preparation.
Safe Application Is About Feeding the Soil, Not Dumping Waste
The purpose of a no waste food amendment system is not to hide scraps in the garden. It is to convert household waste into usable soil inputs. That difference matters.
Food scraps should be processed in ways that make them safer and easier for soil organisms to handle. Drying, grinding, composting, fermenting, diluting, or burying properly all reduce the risk of odor, pests, and imbalance.
A safe system uses different methods depending on the material:
dry and grind vegetable peels for slow release powders
dilute liquid amendments before watering plants
compost mixed foods before applying to beds
bury banana peels or fruit scraps deep enough to avoid pests
avoid direct soil application of meat, oily foods, salty foods, and sugary desserts
use wood ash only lightly and only where pH increase is acceptable
The more processed the material is, the easier it is to control. A powder, diluted liquid, or finished compost is more predictable than a raw scrap.

Coffee Grounds
Coffee grounds are a useful garden input because they provide organic matter, small amounts of nitrogen, and microbial food. They are not a complete fertilizer on their own, but they can support soil structure and biological activity when used in moderation.
Coffee grounds are best used as a light amendment, not a thick mulch. When applied too heavily, the fine particles can clump together and form a dense layer that reduces airflow and slows water movement into the soil.
What it provides: Nitrogen, organic matter, microbial support.
How much to use: Use 1 to 2 tablespoons per plant every 2 to 3 weeks during active growth. For compost, coffee grounds can make up to about 10 percent of the total compost volume.
How to apply: Mix coffee grounds lightly into the top 1 to 2 inches of soil rather than leaving them in a thick surface layer. They can also be added to compost, where they blend more evenly with carbon rich materials such as dried leaves, shredded paper, straw, or wood chips.
When to use: Coffee grounds are best used during early to mid season, when plants are actively producing leaves and stems. They are especially helpful during vegetative growth, but should not be overused once plants move heavily into flowering and fruiting.
Important: Do not apply coffee grounds in thick layers. Too much can compact, reduce airflow, hold moisture unevenly, and create conditions that are less favourable for roots. Small amounts used consistently are much safer than large applications.

Tea Leaves
Tea leaves are a gentle organic amendment that break down fairly easily in soil. They provide mild nutrients, organic matter, and support for microbial activity. Compared to coffee grounds, tea leaves are usually less dense and less likely to compact, but they should still be used thoughtfully.
Loose leaf tea is ideal. If using tea bags, make sure the bag itself is plastic free and compostable. Some tea bags contain synthetic fibres that do not break down properly in soil.
What it provides: Mild nutrients, organic matter, microbial support.
How much to use: Use a small handful of loose tea leaves per plant every 2 to 3 weeks. In compost, tea leaves can be added regularly as part of the green material portion.
How to apply: Sprinkle tea leaves around the soil surface and mix them lightly into the top layer. They can also be added directly to compost, where they break down quickly and blend well with other kitchen scraps.
When to use: Tea leaves can be used throughout the growing season because they are mild and slow acting. They are especially useful as a steady organic input rather than a strong fertilizer.
Important: Avoid using sweetened tea, flavoured teas with artificial additives, or tea mixed with milk. Sugar, dairy, and oils can attract pests and create imbalance in soil or compost. Plain herbal or black tea leaves are the safest choice.
Banana Peels
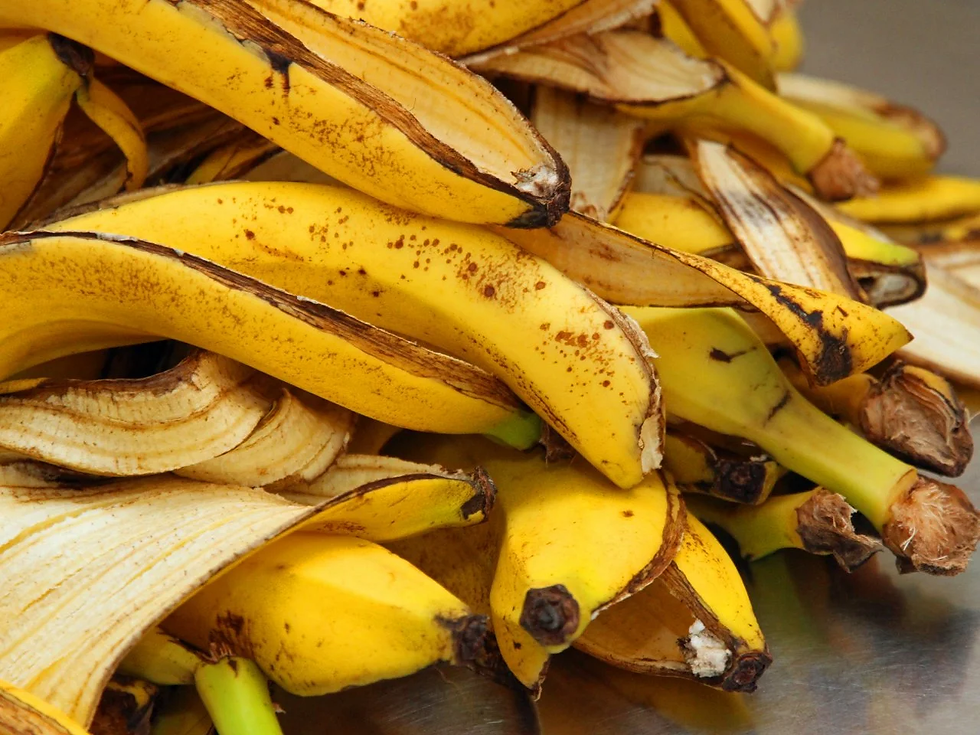
Banana peels are commonly used in gardens because they contain potassium and trace minerals, which support flowering, fruiting, and overall plant function. They are not an instant fertilizer, but when chopped, dried, or powdered, they become much easier for soil organisms to break down.
Potassium is important for fruit development, water regulation, and plant stress tolerance, which makes banana peels especially useful for crops like tomatoes, peppers, cucumbers, squash, melons, and flowering plants.
What it provides: Potassium, trace minerals, organic matter.
How much to use: Use about 1 banana peel per plant every 2 to 4 weeks, or apply 1 tablespoon of dried banana peel powder per plant. For smaller containers, use less, around 1 teaspoon of powder per pot.
How to apply: Fresh banana peels should be chopped finely and buried 2 to 4 inches deep near the root zone, but not directly touching the stem. This helps reduce pest attraction and allows soil organisms to break them down gradually.
For a cleaner method, dry the peels completely and grind them into a powder. Banana peel powder can be sprinkled around plants and lightly worked into the soil surface.
When to use: Banana peels are most useful during flowering and fruiting stages, when plants are using more potassium to support blooms and fruit development.
Important: Do not leave whole banana peels on the soil surface. They break down slowly, attract flies or rodents, and can become moldy. Processing them into small pieces or powder makes them safer, cleaner, and more effective.

Vegetable and Root Boil Water Plus Rice Water
Vegetable boil water, root boil water, and rice water can be useful as gentle liquid amendments because they contain small amounts of dissolved minerals, starches, and organic compounds that leach out during cooking or rinsing. These liquids are mild, but they can support microbial activity in the soil when used correctly.
This works best with water from boiling or rinsing plain vegetables, roots, or rice. It should never contain salt, butter, oil, broth, seasoning, dairy, or sauces.
What it provides: Dissolved minerals, starches, and mild microbial food.
How much to use: Use 1 to 2 cups per plant, once per week at most. For small pots or seedlings, reduce this to a few tablespoons so the soil does not become overly wet or biologically active.
How to apply: Allow the water to cool completely before using it. Apply it as a soil drench around the root zone, not directly over the leaves. Use it in place of a regular watering rather than adding it on top of already wet soil.
When to use: Use during active growth, especially when plants are producing leaves, roots, flowers, or fruit. Warm season crops, leafy greens, and container plants can benefit from the mild nutrient input, but only when the soil is allowed to dry appropriately between waterings.
Important: This water must be completely salt free. Salt damages soil structure, disrupts water uptake, and can burn plant roots. Rice water should also be used moderately because the starches can feed microbes quickly. Too much can create sour smells, surface film, or anaerobic conditions in overly wet soil.
Vegetable Peels Turned Into Powder
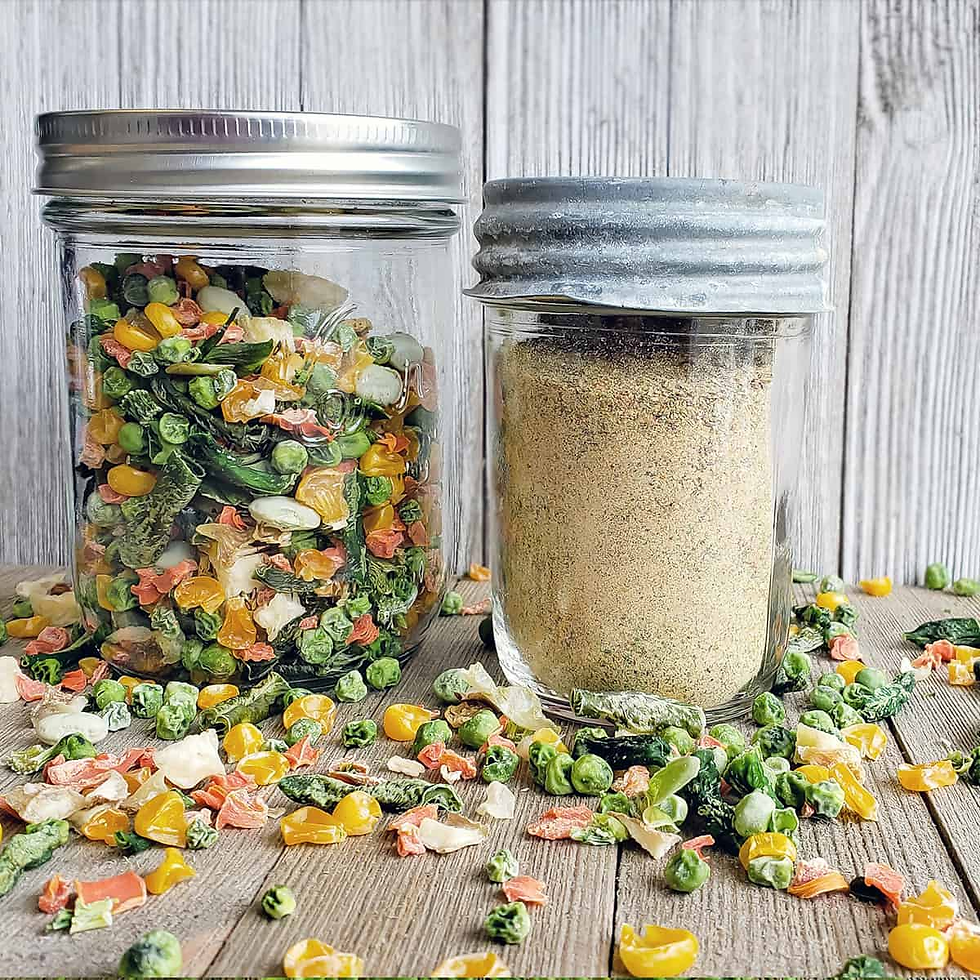
Vegetable peel powder is one of the cleaner ways to turn kitchen scraps into a garden amendment. Instead of burying fresh scraps that may attract pests or rot unevenly, drying and grinding peels creates a stable, easy to measure input that breaks down more predictably.
The nutrient value depends on what vegetables are used. Potato peels, carrot peels, beet peels, squash skins, onion skins, and other vegetable scraps all contribute different minerals and organic compounds. The powder is not a complete fertilizer, but it adds diversity to the soil food web.
What it provides: Mixed nutrients, trace minerals, organic matter, and microbial food.
How much to use: Use 1 to 2 tablespoons per plant every 2 to 3 weeks. For small containers, use 1 teaspoon at a time. For garden beds, use roughly 2 to 4 tablespoons per square foot, mixed lightly into the soil or compost.
How to make vegetable peel powder: Collect clean vegetable peels and avoid anything oily, salty, moldy, or heavily seasoned. Rinse the peels if needed, then spread them in a thin layer on a baking sheet or dehydrator tray. Dry them until they are completely brittle. This can be done in a dehydrator, in an oven on a low setting, or by air drying in a warm, dry place with good airflow.
Once fully dry, grind the peels in a blender, coffee grinder, spice grinder, or food processor until they become a coarse powder. Store the powder in a dry jar or paper bag. The key is making sure the peels are fully dry before storage, otherwise they can mold.
How to apply: Mix the powder into the top inch or two of soil, add it to compost, or sprinkle lightly around established plants before watering. Avoid piling the powder directly against stems.
When to use: Vegetable peel powder can be used throughout the growing season because it is mild and gradual. It is also useful in fall bed preparation, where it has time to break down before spring planting.
Important: Do not use peels that were cooked with salt, oil, butter, or sauce. Avoid citrus peel powder in large amounts, as it can be slow to break down and may be too strong for some compost systems when overused.

Fish Hydrolysate
Fish hydrolysate is a concentrated liquid amendment made from fish material that has been broken down through enzymatic or fermentation processes. It is rich in nitrogen, phosphorus, amino acids, oils, and trace minerals, making it much stronger than most kitchen scrap amendments.
Because it is potent, it should be treated as a fertilizer, not a casual scrap input. Used correctly, it can support strong vegetative growth, root development, and microbial activity. Used too heavily, it can cause odor, nutrient imbalance, pest attraction, or plant stress.
What it provides: nitrogen, phosphorus, micronutrients, amino acids, and microbial support.
How much to use: Dilute 1 tablespoon of fish hydrolysate per litre of water. Apply every 2 to 3 weeks during the growing season. For seedlings or sensitive plants, use half strength.
How to apply: Use as a soil drench around the root zone, or as a very light foliar spray if properly diluted and strained. Soil drenching is usually safer and less likely to cause leaf spotting or odor issues. Apply to moist soil rather than dry soil to reduce root stress.
When to use: Fish hydrolysate is best used during early growth and mid season when plants need support for roots, leaves, and overall vigour. It is especially useful for heavy feeders such as tomatoes, peppers, squash, cucumbers, corn, brassicas, and leafy greens.
Important: Do not overapply. Fish hydrolysate is nutrient dense and can overwhelm plants or soil biology if used too often. Avoid using it right before harvest on leafy crops unless label directions allow it. Store it sealed, keep it away from pets and wildlife, and do not pour concentrated fish amendments directly into garden beds.

Meat Scraps
Meat scraps are one of the most nutrient dense kitchen waste materials, but they also require the most caution. They contain nitrogen, fats, proteins, minerals, and phosphorus, but they break down differently than vegetable scraps. If handled poorly, meat can create odor, attract rodents, raccoons, flies, maggots, and other scavengers, and may introduce unwanted bacteria into an unmanaged garden system.
For this reason, meat scraps should never be applied directly to garden soil and should not be tossed into an open compost pile.
What it provides: Nitrogen, fats, proteins, phosphorus, minerals, and microbial food.
How much to use: Only use meat scraps through a controlled composting or fermentation system. Keep meat as a very small portion of the total material, ideally no more than 5 percent of the compost input. If you are using a backyard compost system that is not enclosed, insulated, pest resistant, or actively managed, it is better to avoid meat completely.
How to apply: Meat scraps must be processed before they ever reach the garden. The safest options are enclosed hot composting, bokashi fermentation, municipal green bin programs where accepted, or a dedicated sealed composting system designed for animal products.
If using a controlled compost system, bury meat deep in the centre of the pile where heat and microbial activity are strongest. Cover it completely with carbon rich material such as dried leaves, shredded cardboard, straw, sawdust, or wood chips. This helps reduce odor, balance moisture, and limit pest access.
When to use: Off season composting is preferred because it gives the material more time to break down before garden use. Fall and winter processing can allow the finished compost to stabilize before spring application.
Important: Do not bury raw meat directly in garden beds. Do not add meat to open piles, shallow trenches, containers, or beds near the home. Meat should only enter the garden after it has been fully broken down into finished compost or safely processed through fermentation.

Nut Shells
Nut shells are a slow breaking carbon material that contribute more to soil structure and aeration than immediate nutrition. They are tough, woody, and resistant to rapid decomposition, which means they act as a long term amendment rather than a quick fertilizer.
They can help improve texture in compost and soil by creating small pockets of air and structure as they slowly break down.
What it provides: Slow carbon, structure, aeration support, and long term organic matter.
How much to use: Use a small handful per square foot if adding directly to garden beds, or mix modest amounts into compost. In compost, nut shells should be balanced with nitrogen rich materials such as vegetable scraps, coffee grounds, or fresh green plant matter.
How to apply: Crush nut shells before use. Smaller pieces break down more effectively and are easier to distribute through compost or soil. They can be mixed into compost piles, added to long term soil building beds, or used lightly in pathways and perennial zones where slow breakdown is acceptable.
When to use: Nut shells can be added anytime, but their benefit is long term. They are especially useful in fall bed preparation, compost building, or perennial gardens where they can break down gradually over several seasons.
Important: Avoid salted, flavoured, roasted with oil, or sugar coated nut shells. Salt and oils can harm soil balance, while sweet coatings may attract pests. Black walnut shells should be used cautiously or avoided around sensitive plants because walnut materials can contain juglone, which can affect the growth of some species.

Bread
Bread is a processed, carbon rich food material that breaks down quickly when moist. It can feed microbial activity in compost, but it is also highly attractive to rodents, birds, raccoons, ants, flies, and mold when exposed. Because of this, bread should be treated as a compost only material, not a direct soil amendment.
Bread offers some microbial food, but it does not provide the same broad mineral value as vegetable scraps or composted plant matter.
What it provides: Carbon, starches, microbial food, and small amounts of nutrients depending on ingredients.
How much to use: Use only small amounts, and keep bread to no more than 5 percent of compost input. Tear or break it into small pieces so it breaks down more evenly and does not form dense, soggy clumps.
How to apply: Bread should go into compost only. Mix it thoroughly with dry carbon materials such as shredded leaves, straw, cardboard, sawdust, or wood chips. Bury it in the centre of the compost pile rather than leaving it exposed on top.
When to use: Use during compost building when the pile has enough dry carbon material to balance the moisture and starch. Bread is better added to active compost than directly to garden beds.
Important: Avoid bread with heavy oils, cheese, meat, icing, or sugary fillings. Moldy bread should be handled cautiously, especially if anyone in the household is sensitive to mold. Do not scatter bread outdoors for wildlife or bury it shallowly in garden beds, as it can quickly attract pests.

Expired Meals and Desserts
Expired meals and desserts are mixed food waste, which means they can contain a combination of carbohydrates, proteins, fats, salt, sugar, dairy, oils, sauces, and preservatives. Because the ingredients are not simple or predictable, they need more caution than raw fruit or vegetable scraps.
They can still be part of a no waste system, but they should be treated as controlled compost or fermentation material, not something to bury directly into garden soil.
What it provides: Mixed nutrients, carbon, nitrogen, sugars, fats, and microbial food depending on ingredients.
How much to use: Use minimal amounts only. Keep expired meals and desserts to less than 5 percent of the total compost input. In a small backyard compost system, this may mean only a few spoonfuls at a time, mixed well into a much larger amount of dry carbon material.
How to apply: Expired meals and desserts should be composted or fermented before garden use. They should never be spread directly around plants. If composting, bury them deep in the centre of the pile and cover heavily with dry leaves, straw, shredded cardboard, sawdust, or wood chips. If using bokashi or another sealed fermentation system, allow the material to fully ferment before adding it to compost or soil for further breakdown.
When to use: Off season or controlled systems are best. Fall and winter composting gives these materials more time to break down before they are added to active garden beds. In warm weather, they can attract pests quickly if not enclosed properly.
Important: Meals and desserts that contain heavy salt, oil, dairy, meat, icing, chocolate, or large amounts of sugar require extra caution. These can create odor, attract rodents, slow compost balance, and disrupt soil biology if added too heavily. If a meal is very salty or greasy, it is better kept out of home garden soil systems.
Seeds From Fruit
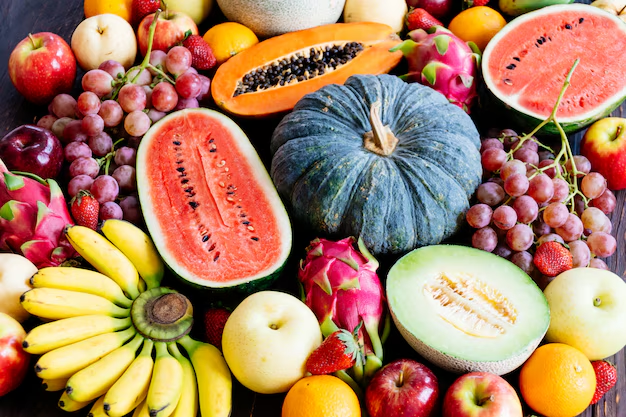
Fruit seeds are one of the easiest food waste materials to reuse because they can either be composted as organic matter or intentionally grown into new plants. The main issue is that many fruit seeds may sprout unexpectedly if they are placed into compost or garden beds before being fully broken down.
Some seeds are harmless in compost, while others may become volunteer plants later. This is not always a problem, but it can be inconvenient if seedlings appear where they are not wanted.
What it provides: organic matter, future plants, and small amounts of stored seed nutrients.
How much to use: Fruit seeds can generally be added without strict limits, as long as they are going into compost or being planted intentionally. The concern is not nutrient overload, but unwanted germination.
How to apply: If composting, add fruit seeds directly to the compost pile and mix them into active material. Hot composting is more likely to kill viable seeds than cold composting. If you want to grow them, clean the seeds, dry them if needed, and plant them according to the needs of that specific fruit.
When to use: Seeds can be composted anytime. If planting intentionally, timing depends on the species. Some fruit seeds require cold stratification, scarification, or long germination periods before they sprout.
Important: Seeds from grocery store fruit may not grow true to type, especially if the fruit came from a hybrid variety. Some tropical or tender fruit seeds may sprout but not survive Canadian winters outdoors. Composting seeds is safe, but expect possible volunteers if your compost does not heat thoroughly.

Spoiled Fruit
Spoiled fruit is rich in moisture, sugars, organic acids, and plant nutrients. It breaks down quickly and can feed microbial life, but because it is so biologically active, it can also create odor, fruit flies, mold, and pest attraction if handled poorly.
Spoiled fruit is useful, but it should be balanced with dry carbon materials and never left exposed.
What it provides: Sugars, moisture, potassium, trace minerals, organic acids, and microbial food.
How much to use: Use 1 to 2 cups of chopped spoiled fruit per compost layer. For small compost bins, use less and balance with a generous amount of dry material. Avoid dumping large amounts of fruit into one area, as this can create wet, sour, anaerobic pockets.
How to apply: Spoiled fruit is best composted or fermented. Chop it into smaller pieces so it breaks down evenly. Add it to compost in thin layers and cover it immediately with dry leaves, shredded cardboard, straw, sawdust, or finished compost.
It can be buried shallowly in soil only if chopped finely and used in very small amounts, but this is best reserved for low pest pressure areas. In most home gardens, composting is the safer option.
When to use: Spoiled fruit can be used throughout the season if managed carefully. In hot weather, it should be covered immediately to prevent fruit flies and odor. In fall, it can be added to compost systems where it has time to break down before spring use.
Important: Avoid large piles of exposed fruit. Fermenting fruit smells can attract rodents, raccoons, wasps, and flies. If fruit is moldy, it can still be composted, but handle it carefully and bury it within the compost rather than leaving it on the surface.
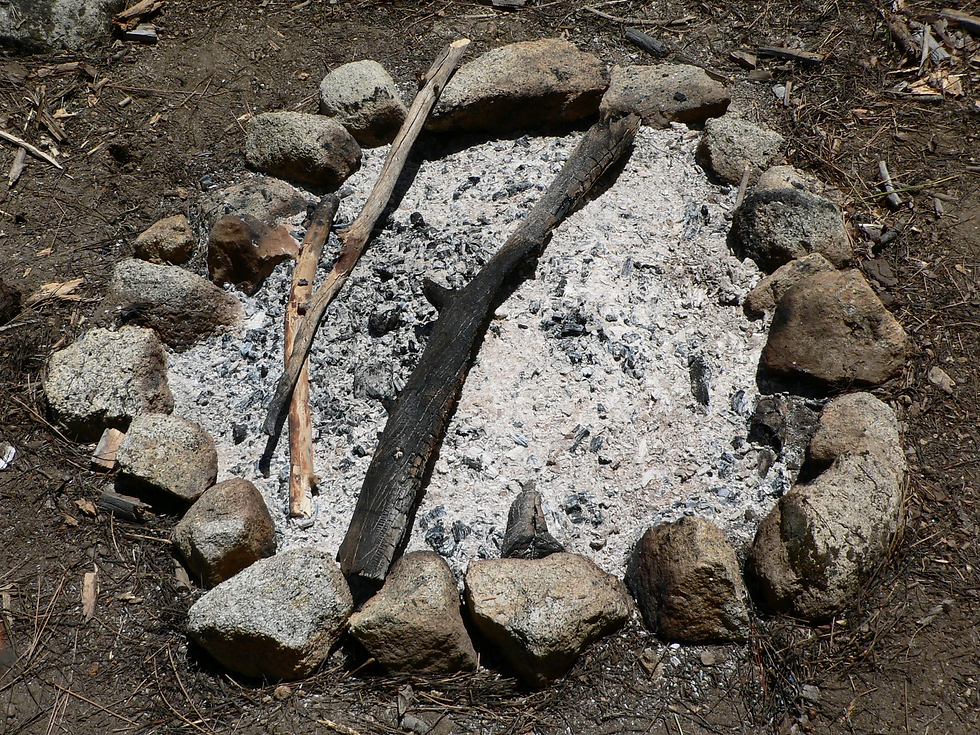
Wood Ash
Wood ash is a mineral amendment, not a compost material. It contains potassium, calcium, and other trace minerals, and it can raise soil pH because it is alkaline. This makes it useful in very specific situations, but harmful if overused or applied to the wrong plants.
Wood ash should be used lightly and only from clean, untreated wood.
What it provides: potassium, calcium, trace minerals, and alkalinity.
How much to use: Use 1 tablespoon per plant, or up to 1 cup per 10 square feet per season. This should be treated as a maximum starting point, not something to repeat frequently. For containers, use very little, usually only a small pinch mixed thoroughly into the soil if needed.
How to apply: Sprinkle ash lightly over the soil and mix it into the top layer. Do not leave thick patches or piles. Water it in gently after application so it begins integrating into the soil.
Wood ash can also be added sparingly to compost, but only in small amounts. Too much can make the compost overly alkaline and slow microbial activity.
When to use: Wood ash is best applied in early season before heavy growth begins, or in fall as part of bed preparation. Fall application gives the ash time to mellow in the soil before spring planting.
Important: Do not apply wood ash to acid loving plants such as blueberries, cranberries, rhododendrons, azaleas, or hydrangeas grown for blue colour. Do not use ash from treated wood, painted wood, charcoal briquettes, glossy paper, plywood, or burned garbage. Overuse can raise pH too much, interfere with nutrient availability, and create salt like stress for plant roots.
Special Considerations
Some kitchen materials require extra caution because they can disrupt soil biology, attract pests, or interfere with how plant roots absorb water and nutrients. These materials are not automatically unusable, but they need to be handled carefully and should never be treated the same way as plain vegetable scraps.

Salt
Rule: never apply directly
Salt is one of the most important materials to exclude from garden amendments. Even small amounts can cause problems because salt changes how water moves through soil and plant roots.
When too much salt is present in the soil, it can make it harder for roots to absorb water. This can lead to symptoms that look like drought stress, even when the soil is moist. Over time, salt can also damage root tissue, reduce microbial activity, and interfere with nutrient uptake.
Avoid adding:
salted vegetable water
salted rice water
salted pasta water
salty leftovers
brined foods
heavily seasoned scraps
Salt does not break down like organic matter. It accumulates unless it is leached away with water, which can be difficult in containers, raised beds, or poorly draining soils.
Best practice: only use plain, unsalted kitchen liquids or scraps. When in doubt, leave salted foods out of the garden system.

Oil and Fats
Rule: minimal and compost only
Oils and fats behave very differently from plant scraps. They do not dissolve easily in water and can coat soil particles, which reduces airflow and affects how moisture moves through the soil.
In compost, small amounts may eventually break down, but too much oil can create anaerobic pockets, slow decomposition, produce odour, and attract rodents, raccoons, flies, and other pests.
Avoid applying directly:
cooking oil
butter
greasy leftovers
oily sauces
fried foods
salad dressings
If oils or fats are included at all, they should only be added in very small amounts to an active compost system with plenty of dry carbon material.
Safe limit: less than 1 teaspoon per compost batch, mixed thoroughly and buried deep in the pile.
Best practice: keep oils and greasy foods out of garden beds entirely. Compost only in controlled systems, and only in very small amounts.

Sugar
Rule: dilute or compost
Sugar feeds microbes quickly. In small amounts, this can stimulate microbial activity. In concentrated amounts, it can create imbalance by causing rapid microbial growth, fermentation, odor, mold, and pest attraction.
High sugar materials include:
desserts
syrups
sweet drinks
fruit juice
icing
candy
sweetened tea or coffee
very ripe or spoiled fruit
Sugar rich materials should not be poured directly onto soil in concentrated form. They can attract ants, flies, wasps, rodents, and other pests. They can also create sour, oxygen poor conditions if the soil is already moist.
If using a sugar containing liquid, dilute it heavily and use it only in compost or a controlled fermentation system. Spoiled fruit is better composted or fermented rather than buried directly around plants.
Best practice: use sugar rich scraps sparingly, cover them with dry carbon material, and never leave them exposed.
Simple Weekly Application Routine
A no waste system works best when inputs are spread out over time. The goal is not to feed the garden everything at once, but to create a steady rhythm that supports soil biology without overwhelming it.
A balanced routine might look like this:
once per week: apply cooled, unsalted rice water or vegetable water as a light soil drench
every 2 weeks: add a small amount of powdered vegetable peels or coffee grounds around established plants
monthly: add dried banana peel powder or finely chopped buried banana peel near flowering or fruiting plants
seasonally: apply a very small amount of clean wood ash only where appropriate
continuously: compost complex materials such as bread, spoiled fruit, expired meals, meat scraps, and mixed leftovers in a controlled system
This routine keeps nutrient additions moderate and predictable. It also gives the soil time to process each input before another is added.
Why This Routine Works
The strength of a no waste garden system comes from consistency. Small, repeated applications support microbial life, improve organic matter, and recycle household nutrients back into the growing space.
Too much at once can create problems. A little at the right time can build fertility over the entire season.
The safest approach is to treat kitchen scraps as soil ingredients, not garbage. Each material has a role, but each one also has limits. When those limits are respected, a no waste household can become a steady source of garden fertility without creating pests, odor, or soil imbalance.

Comments